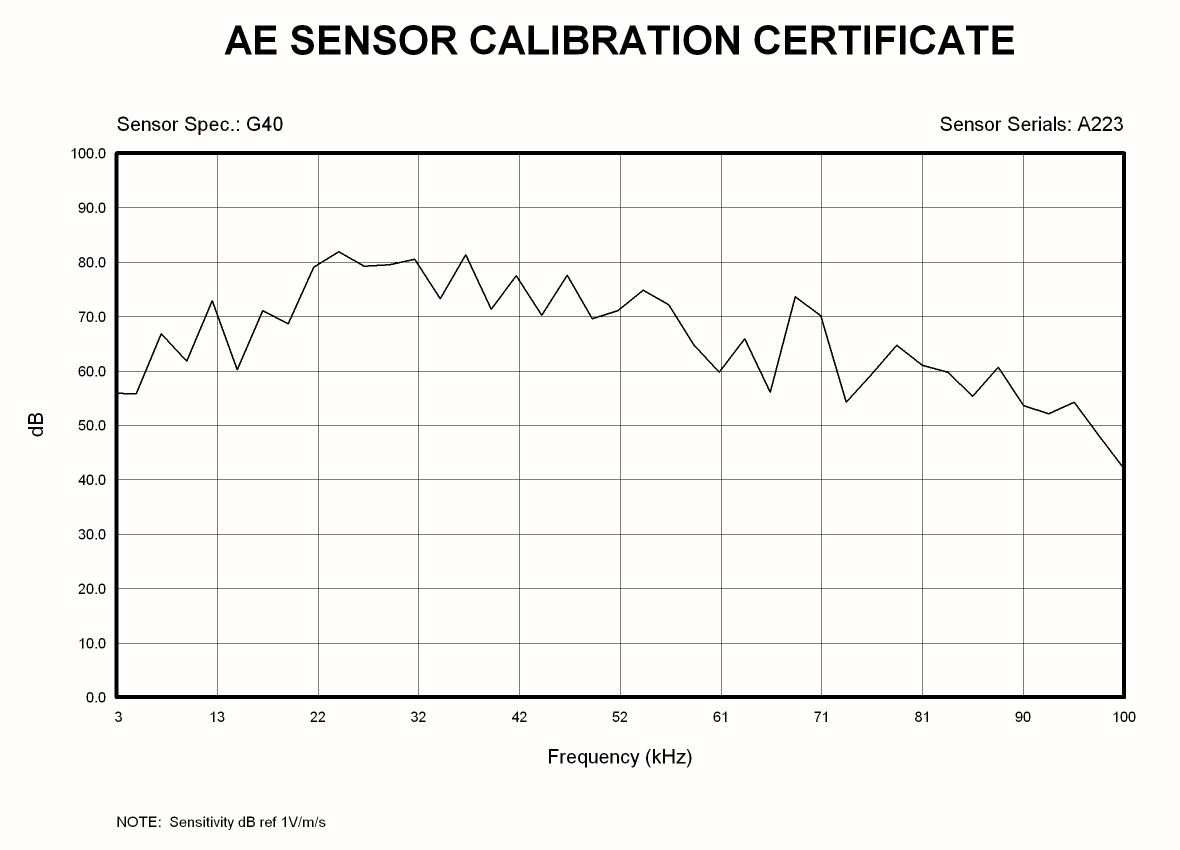
Acoustic emission sensor calibration system
According to ISO12714 (ASTM E1781, GB / T19801), the standard sensor calibrated by metrology institute is used as the reference sensor, and the acoustic emission calibration system developed by Qingcheng company is used for secondary calibration. The calibration system consists of test bench, acquisition instrument and test software. The calibration method is surface wave acoustic field calibration.
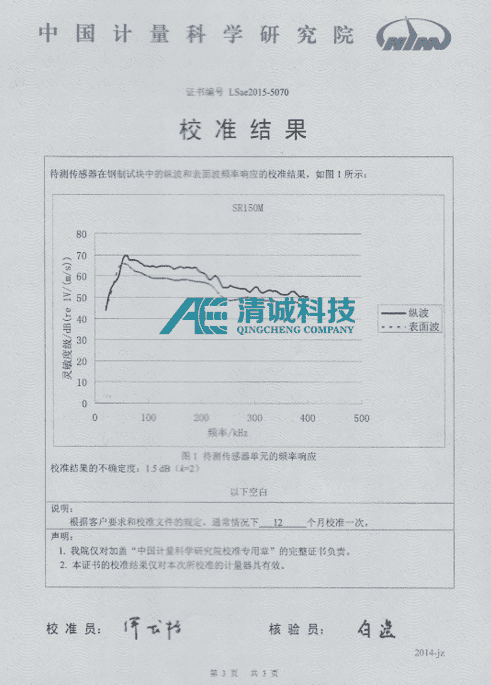
Fig. 1 Standard sensor curve generation
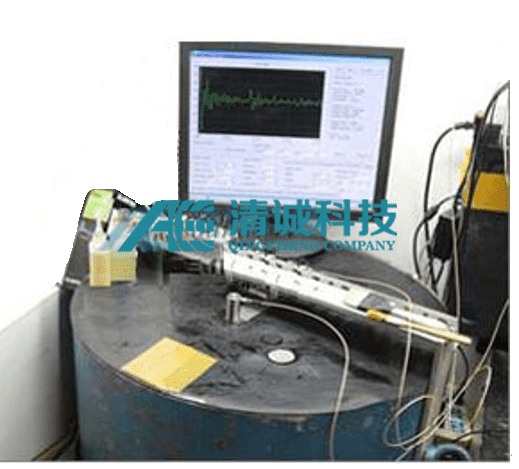
Fig. 2 Acoustic Emission Sensor secondary calibration platform
1) On the test bench, a 0.3 mm hollow glass tube is used to send out vibration signal to provide calibration source;
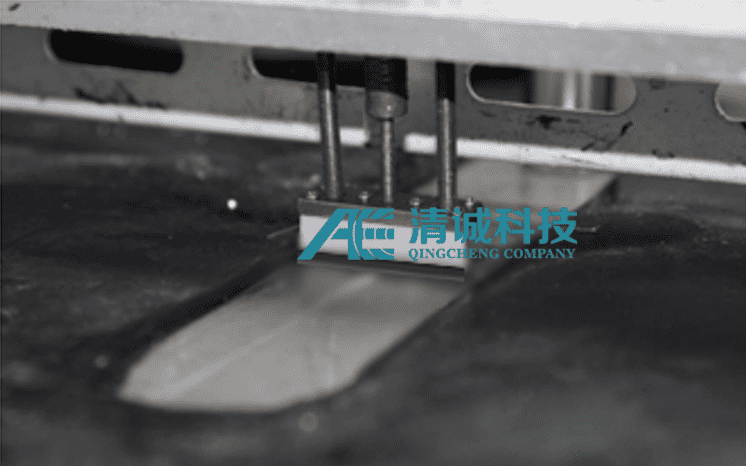
Fig. 3 Crushing capillary glass tube device
2) The standard sensor receives the signal, which is received by the special data acquisition board of Qingcheng technology. The frequency spectrum is analyzed by the test software, and directly converted to DB value and recorded;
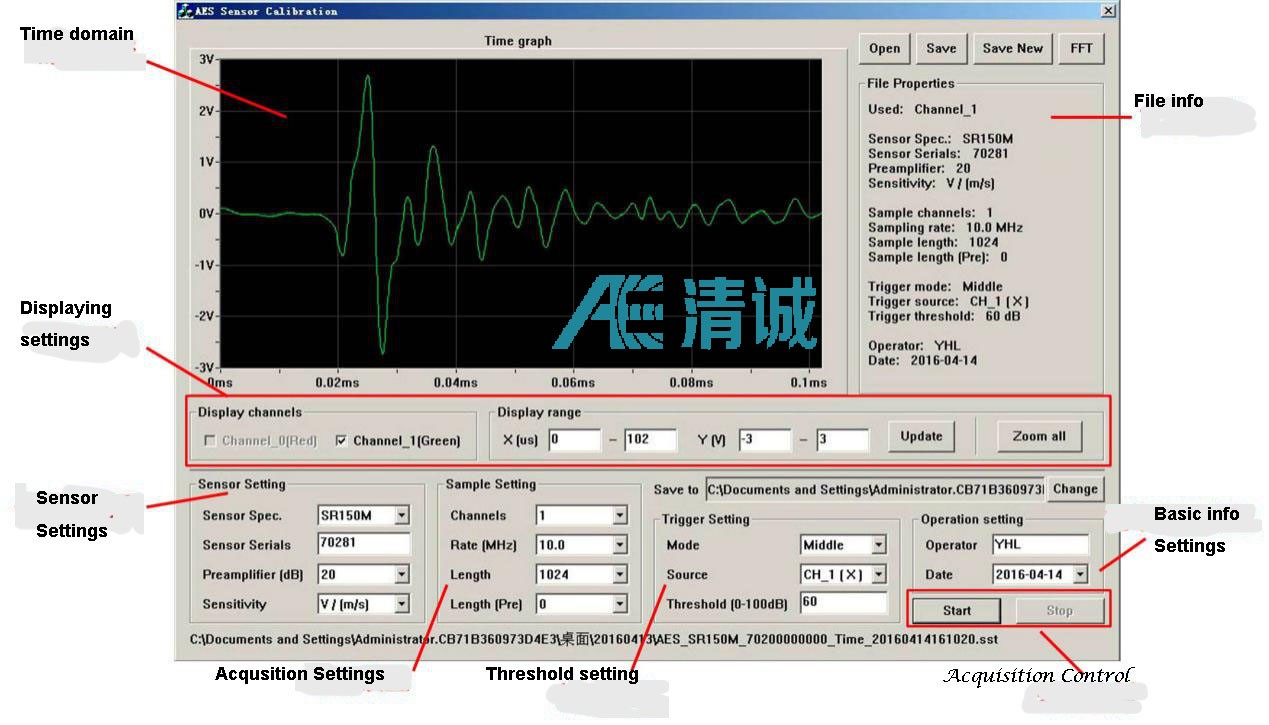
Fig. 4 Signal acquisition interface of special software for secondary calibration
3) The sensor to be calibrated receives the signal from the same signal source synchronously with the standard sensor, and the signal is received by another channel of the acquisition board. The spectrum is analyzed by special test software, and directly converted into DB value and recorded;
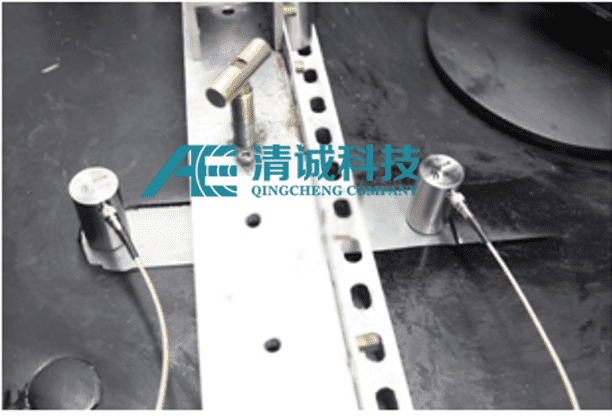
Fig. 5 Sensor Installation
4) Using the spectrum value of standard sensor given by the Metrology Institute, subtracting the spectrum value of the received signal of the standard sensor in this test, the calibration coefficient of each frequency point of this measurement is generated;
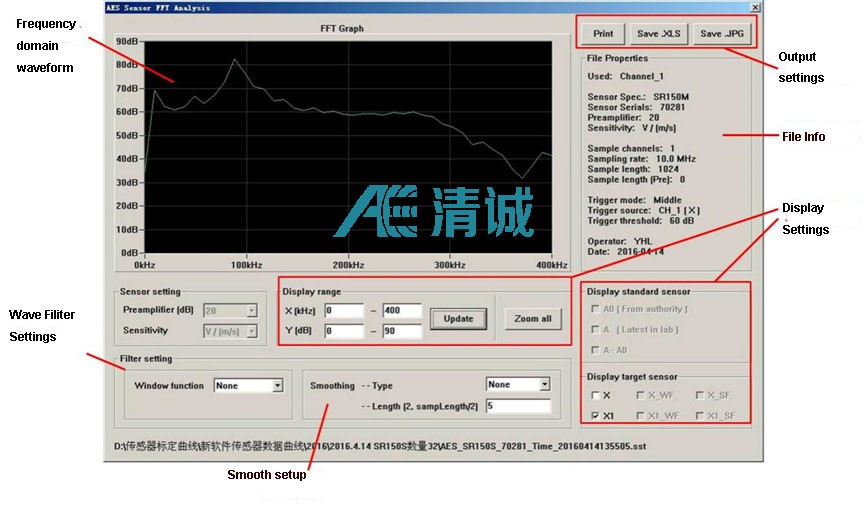
Fig. 6 Signal analysis interface of special software
5) The frequency spectrum value of the signal received by the calibrated sensor in this test is added with the above calibration coefficient to obtain the secondary calibration value of each frequency point in the corresponding frequency domain, archive, draw the curve, and deliver it to the user for reference;
